
I was lucky enough to have 5 days to wander around Sydney as a tourist and decided to focus on exploring some of the art in the city. Naturally, I only had the time and the energy to discover a fraction of what the city had to offer, but I really enjoyed what I saw and got a lot of ideas for new pieces in the future. I would really recommend doing something like this to all artists. It is a great way of becoming educated about a city and about the works of other artists, while gaining a lot of inspiration. I visited the main art gallery, naturally.
People often do not think of museums as drawing those interested in art, but I also discovered a lot of art inspiration in Sydney's museums. In addition, I found a lot of art in the streets and parks in the city. I even got inspiration in some of the shops I visited.

The Wendy Whitely Secret Garden in North Sydney.
Just down the hill from our flat, we found the Wendy Whitely Secret Garden. Wendy Whitely was married to the artist , Brett Whitely, and while being his muse, she also had a lot of her own creative talent. This talent is manifest in the garden she has created from derelict land close to Luna Park and the Sydney Harbour Bridge, and overlooking Lavender Bay.

I loved it for its beauty,

restfulness in the middle of a large city, and the little surprises we kept discovering.

It is the perfect place for those who want to paint, draw or photogaph, or simply just wander or sit.
The Museum of Sydney.

The museum of Sydney is not a large one and is on the site of the old Government House. Unfortunately, it gives an extremely condensed summary of the history of the city, so it isn't really very helpful for keen history buffs. When we were there, it had an exhibition of Superhouses of the world, but I was far more interested in the Ginger Meggs exhibition which covered the artists involved in the cartoon, the development of his image and much of the memorabilia associated with the character. Visitors were invited to draw Ginger Meggs, so if you think you are good at drawing comic characters, here is your opportunity.
The Australian Museum.
This museum was much larger, and is the oldest museum in Australia. In many ways it reminded me of the museums of my childhood. I came across some lovely examples of fossils

taxidermied animals and skeletons

insect collections

and displays of Australian indegenous culture,

- all of which I found inspirational. I took lots of photos to use in my work.
The museum also had some very nice pieces of art and craft as part of its display.


In additon, the museum encouraged children to participate in creating for themselves and responding to exhibits. The ones I saw there seemed to be having a ball.
The Powerhouse Museum.
The Museum of Applied Arts and Sciences or the Powerhouse Museum, is huge. In some ways, it is not my type of place since a lot of the displays are to do with science, technology, space and transport, which I am afraid, I have limited interest in. However, it also has displays associated with the decorative arts and design. I was particularly impressed by the exhibit "A Fine Possession: Jewellery and Identity" which examined various types of jewellery and the place jewellery has in human life, in different cultures and at different times throughout history. Some of the clothing on display was so intersting too.


I didn't , however, find the exhibition "Collette Dinnigan: Unlaced" particularly thrilling.


Perhaps I was comparing it too much to the exhibitions by fashion designers, Sass and Bide and Jean Paul Gaultier. The dresses seemed a bit lacking in imagination and artistic uniqueness. Or perhaps, it just didn't reflect my taste. Other women seemd to be entranced by it.
. However, I did love her idea/colour boards


The Museum of Contemporary Art.
This imposing and enormous building did contain some nice pieces.


but on the whole, the exhibitions weren't to my taste, and often seemed very amateurish, and sometimes, a bit pretentious. However, I saw that an exhibition of the work of one of my favourite artists, Grayson Perry, is coming up, so perhaps another visit would change my mind..
The Art Gallery of new South Wales.
My favourite Gallery was the Art Gallery of New South Wales, established in 1871 and containing a lovely mixture of works from many cultures and times.
Artists included Jumaadi ( The Bridge to Alengka)

John Olsen ( Five Bells)

Zhang Xiaogang (Big Family Number 4)

Brett Whitely (Woman In Bath IV)

George W Lambert (Mrs. Helen Beauclerk)

Montien Boonma (Untitled Two Acts II)

Grayson Perry (Map of Truth and Beliefs)

Like many galleries today, there was a craft table set up for children. As usual, adults were using it. This is the bird I drew while I was resting my feet.

I would gladly visit this gallery again.
Craft NSW.
I accidently discovered Craft NSW whilke exploring the Rocks and was utterly charmed by the enthusiasm of the craftmakers there. I was really drawn to some of their pieces too. Sorry, I didn't record the names of the makers.


As well as galleries and museums, there are quite a few interseting shops for artists, if you know where to look. Thanks to two of my friends, I found some particularly exciting ones. The first is Kinokuniya bookshop which has an incredibly good collection of books and magazines, paper, manga, etc, but also has its own gallery. While I was there it was exhibiting Beastly by Animals.

The third was "Parkers Sydney Fine Art Supplies". Simply wonderful for art supplies.
In the streets and parks.
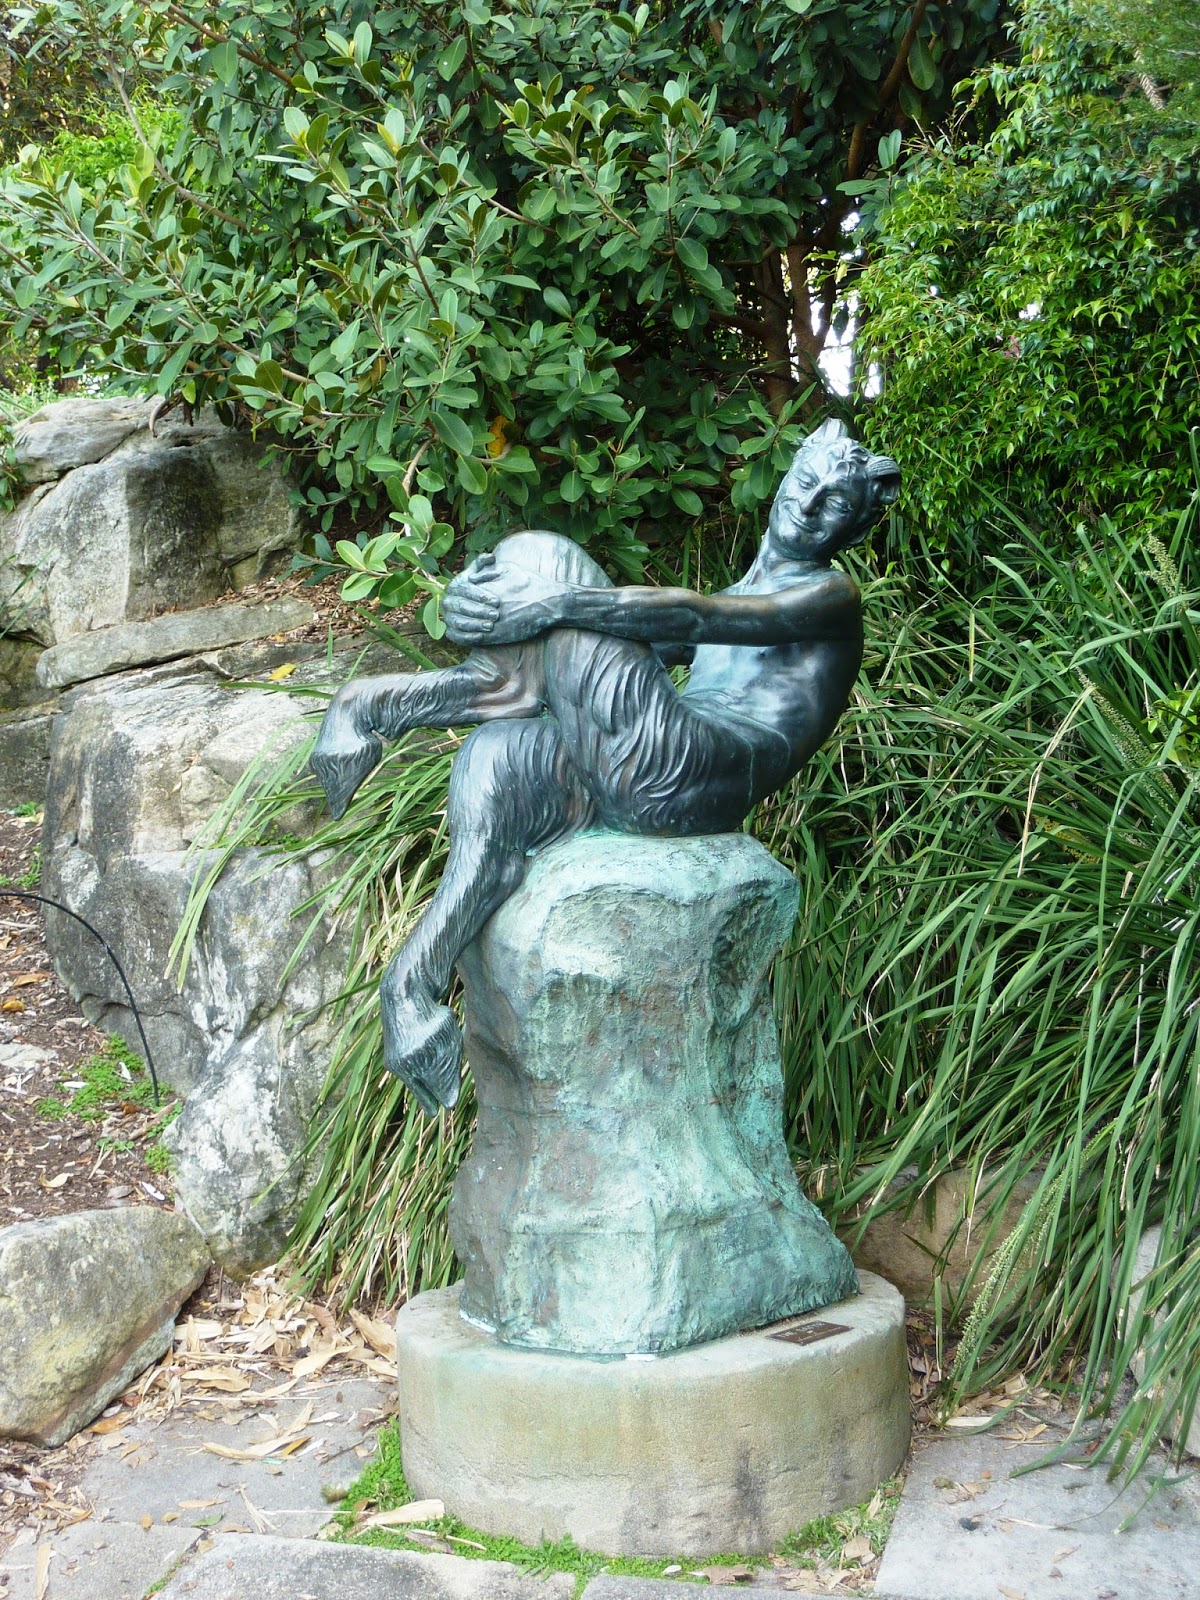
And , art and inspiration can be found as you wander. I found this little sculpture along the boardwalk at Lavender Bay.

These windows were in the Queen Victoria Building.


And this interactive bamboo structure was opposite Circular Quay


This was in the Rocks

as was this.

I don't know why I don't do what I did in Sydney in my own city, Melbourne. Perhaps responsibilities get in the way? Or, perhaps, I keep thinking I can do it any time and never actually get round to doing it. I should.


