Thursday 18 December 2014

My embroidered pictures, collage from junk mail and craft ideas for market stalls. The multi media approach I take to my art.

In the lead up to Christmas, I have been finishing off a few pieces, trying out some new skills and preparing some samples for my new classes next year.  No-one is getting presents made by me this year.  I wonder if there are groans of disappointment or screams of joy?

I finally finished embroidering my picture of Moreton Bay Fig tree roots and am now ready to stretch the work and frame it.  I am rather pleased with it.  It was worth the months of work and the occasional swearing when my Maine Coon kittens stole my embroidery threads.


I have started on a new embroidered piece - a landscape- which will appear in future blogs, and have finished blocking a new quilt which I am getting ready to embroider too:
 

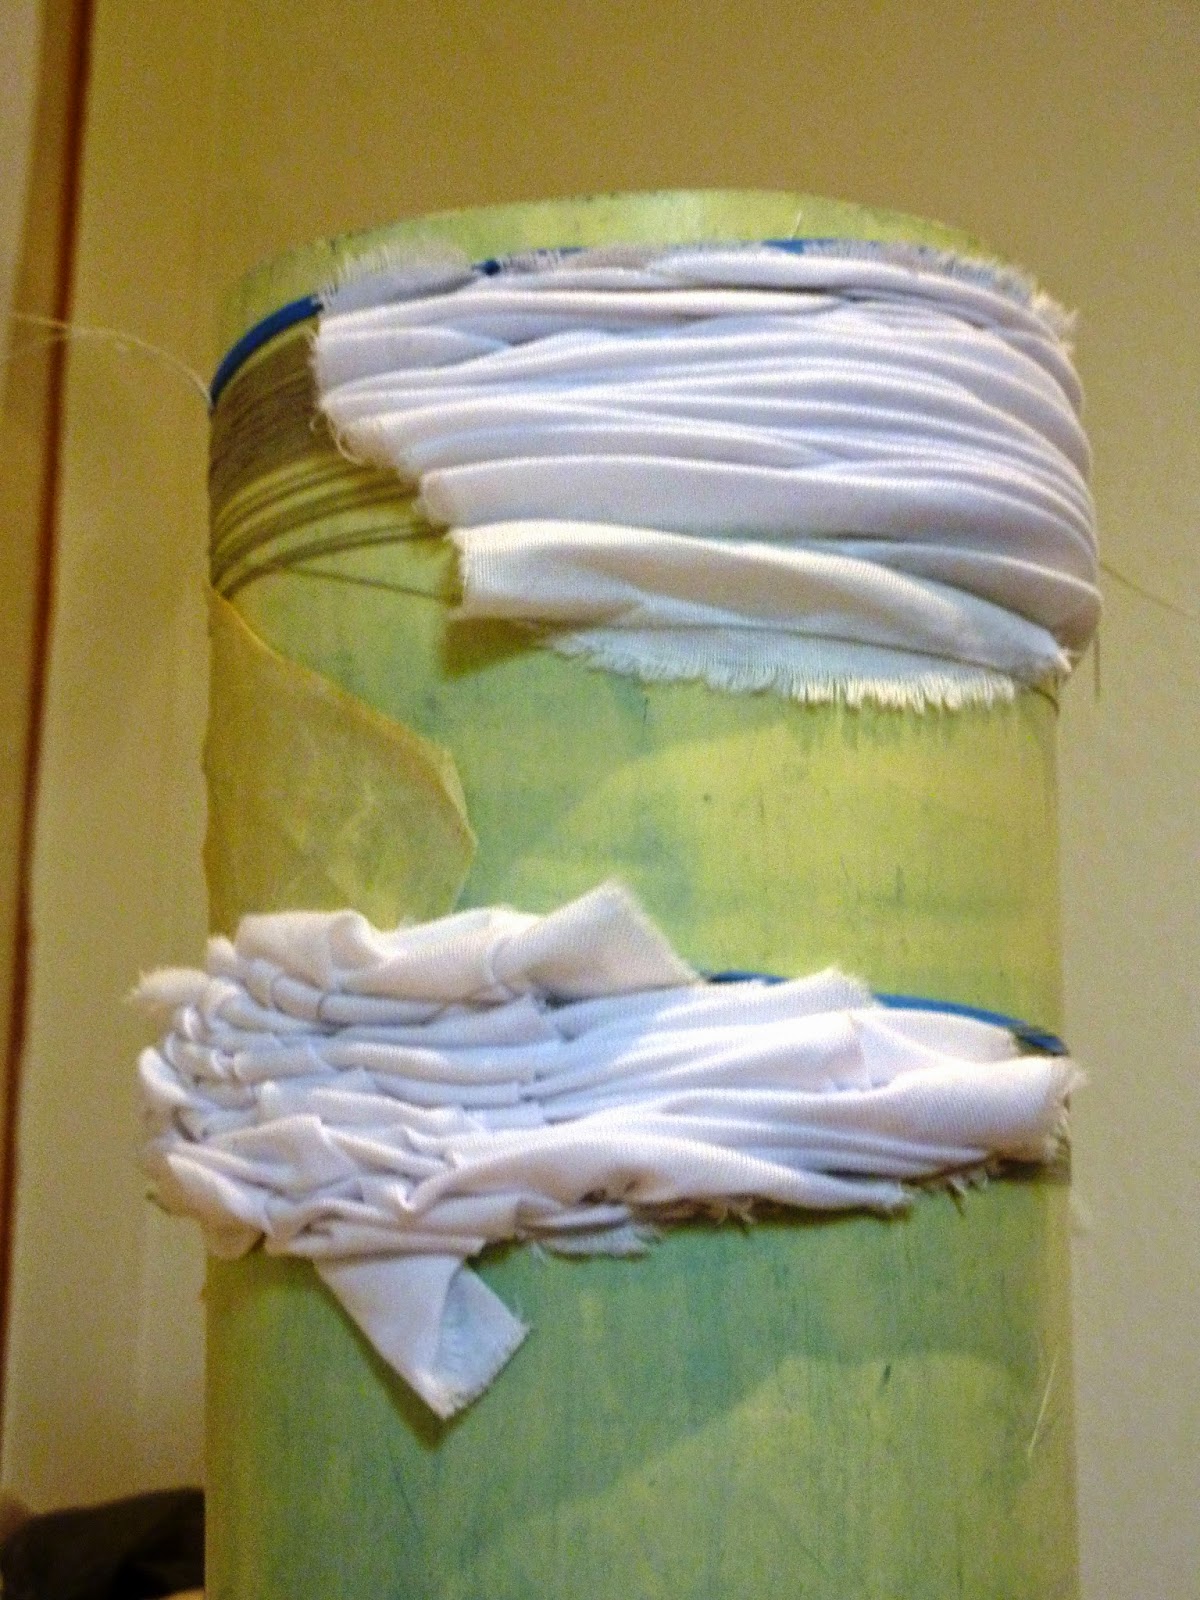
 Recognise the fabrics?

Inspired by the Junk Art Mail Collective - especially the work of Virginia A Spiegel and Jacki Long, I have been experimenting with collage and come up with these three pieces.  This is my first and it is a, rare for me, abstract piece:


I was so pleased with it that I created this more colourful work, adding an ink background.  It is inspired by all the presents and decorations associated with Christmas:


My last one, and I think my favourite, is my tongue in cheek ode to the materialism of Christmas:


They are so much fun to do that I can tell I'll be doing a lot more.  I have found myself poring over junk mail these days instead of tossing it in the recycling bin.  Quite a change!


As well as working on my own projests, I have been preparing samples for classes that I am starting next year for women preparing to get back into the workforce after suffering various forms of hardship in their lives.  I plan to  prepare a lot of examples of projects they could try and let them decide what they would like to work on.  Felt birds like these, which have been embroidered and stuffed lightly could be turned into mobiles, either in groups or as individual birds:


  Crocheted little circles like these could be used as coasters, joined together to form garlands, or joined together to form a quilt.

 
Tonight, I am experimenting with paper roses and I am trawling Pinterest to get other ideas for crafts.  Stay tuned for further examples.  We plan to have a market at the end of the course for the women to sell their wares.  It is exciting to think that all the individuals will come up with new and interesting pieces.

As 2014 winds down, I look back and am amazed at the variety of projects that I have tried and completed this year.  I am still missing my friends and fellow artists in Brisbane, but am pretty chuffed that the encouragement I got from them is continuing to bear fruit in Melbourne. Even though my life is much busier here and I feel like I have much less time for creating than I would like, I have achieved a lot and learned a lot of new techniques too here in Melbourne.  I can't wait to see what 2015 brings!

I hope my readers have had as great a year as I have and that they have a wonderful Christmas break with loved ones.  May 2015 be creative, stimulating and fun for us all!.

A visit to Yering Station's sculpture exhibitiion and shopping at the Design Market

 
My nearest and dearest took me out for a lovely drive around the Yarra Valley for our anniversary.  For those not familiar with the area, it is to the north of Melbourne, just before Healesville Sanctuary ( for native animals), consists of very pretty, rolling country and is famous for its excellent vineyards.  We stopped for lunch at Yering Station.  Our visit coincided with a sculpture exhibition, so after the meal, we enjoyed ourselves exploring the variety of sculptures and the beautifully landscaped grounds.
 
This is Maria Coyle's "Children Chatting", which was perched on the side of the little pool just inside the foyer and just before the restaurant,
 

and the two figures look down on Carla Gottgens' "Voyage of the Lost Children", which reminded me of tales of the Styx.

 
This witty piece is by Clare James and is called "We Sat and Waited for the Cornucopia"


I think these slugs and snails would look amazing on a garden wall.

This piece is quite different and I loved the faces peering out - "Arboreal Gathering" by Glenn Murray.


I also liked  these pieces which were nearby: Donal Molloy-Drum's "Still".  
 
 
Outside of the main building we found this piece by Rudi Jass.  "Constellation"sits on the verandah overlooking the valley


I loved the way this sculpture was reflected in the water.  It is "Little Miracle"  by Bill Ogilvie.  I definitely need a bigger water feature in my garden.

 
This sculpture by Jaccob McKay made the most beautiful sound when the wind blew through it.  It is called "Outback Rust"
 

I wasn't as keen on Fleur Brett's "The Gathering"


as I was by the delightfully amusing "Sit/Stand" by Frank Veldze and Suzanne Donisthorpe which uses old mattress springs to make garden chairs.


Another favourite was  Andrew Bryant's "Stone and Feather" which sits just at the entrance to the restaurant.

 
Bob's favourite was Brian Paulusz's "Children's Entrance"  which I think would look great in my garden.  Plus, the kids would have walking through the magical portal.


I liked the way this sculpture echoed the pillars of the pagoda behind it.  It is called "Dancers" and is  by Andreas Buisman.

 
The gardens were as intriguing as the  sculptures.  Whoever is responsible has a really good eye for contrasts, tone, structure and movement.


Another excursion, this time with some very good friends from Brisbane, was to see the Big Design Market at the Royal Exhibition Building in the city.  The work there was excellent so the prices were not cheap and we enjoyed ourselves immensely.
 
However I was also drawn by this lamp post at the front of the building and the gardens around the building.


I am so lucky to live in this state.  There is always so much to see and do.


Thursday 13 November 2014

Re-acquainting myself with the Royal Botanical Gardens and the Collingwood Children's Farm, and more shibori, dyeing and embroidery.

Well, life certainly isn't boring for me!  I seem to race for activity to activity so fast that I am hardly able to settle down at home and concentrate on my own work.  But, it is all learning and inspiration.
 
I went to a meeting at the Plant Craft Cottage and watched an experiment in dyeing using leaves from endangered eucalyptus in the Royal Botanic Gardens ( they are not allowed to bring foreign plant matter because of the danger of myrtle dust).
 
The leaves of verrucata, kitsoniana, macarthurri and one other ( I didn't catch the name) were put in 4  dye baths containing iron ( gives a darker colour), alum (gives a yellow colour), copper (gives a green colour) and just water to boil for 3/4 hour at 90 degrees, then sit for 3/4 hour.  Then, wool hanks were soaked for another 3/4 hour.


We didn't see the results, but no doubt I will find out at a later meeting.

In the meantime, someone else had conducted an experiment using gardenia crassicaulis, which apparently used to be used as a food colouring, and which gave off a blue colour on wool.  She also experimented with safflower and got these lovely colours on cotton and wool.


The cottage sells the work of the members and I helped package items up for the shop.  There were some lovely scarves


and handkerchiefs, but the shop also sells basketry, paper, pressed flowers and wool products. I ended up buying myself some baskets, ostensibly for gifts, but they ended up in my house!


I was also able to visit the Collingwood Children's Farm which is great fun for young and old and a great place to go if you want to sketch animals or landscapes.


Another trip was to Bridgeport in South Australia, another place that is brilliant for landscape artists and a source of great pieces of old rusted metal and marine wood, which reminded me that I haven't played with rust in my work lately.


At home, I have been deciding what to do with my shibori indigo samplers from my previous dyeing workshop.  The pale ones are from the fruit baths and the dark ones for the caustic soda.  I think they would look good mixed together.


In addition, I have been doing some shibori on cotton and silk in preparation for an indigo dyeing day at the Plant Craft Cottage.
 
 
And lastly, I have been plodding on with my Moreton Bay tree roots!  Talk about slow! Still, I am getting there.


Looking back at all of this, no wonder I feel exhausted!
 

Thursday 30 October 2014

More indigo dyeing and shibori at the Garden Craft Cottage


 My second workshop at the Garden Craft Cottage was just as much fun as the first one, with the added bonus of us being a bit faster and more confident.

This time we refreshed the dye baths that we had made up last week.  We used two methods for heating up the liquid to between 40 and 45 degrees.  We used an immersion heater for one vat


but simply added warm water from the kettle to the others and stirred, using a thermometer to check the temperature.

Then, we tested for alkalinity.  You can use a meter and try for a pH of 10 to 11, but we tested to see if it felt soapy or slippery with our fingers.  When it didn't feel right, we added a teaspoon of caustic soda at a time, stirring well after each addition and retesting. ( We rinsed our fingers in water after each test, and in water with vinegar after the final test).

After that, we stirred the mixture, then sprinkled 2 teaspoons of sodium hydrosulphite on the surface of the moving liquid to avoid lumps and to avoid oxygenating the bath.  We covered the vat and left it for a while.  Most of the vats were ready for use after this stage, as yellow showed around the edge of the liquid, and a piece of fabric dipped in showed that they were ready


but we had to stir, add more sodium hydrosulphite, cover, leave and wait with one of the vats.

Over the week, we had homework of shibori tying some fabric using techniques like awase-nui ( bamboo leaf), karamatsu ((Japanese larch), maki-nui (chevron stripes), yamamichi (mountain path) and Chinese button flower.  After refreshing the vats, we soaked our stitched and knotted fabrics in water.  We then learned how to do pole-wrapping


and clamping:


and soaked those fabrics too.  I found that the new wood I had used for clamping leached brown into my fabric, but I quite like the effect.

When the vats were ready, we used rubber gloves to squeeze out the excess water and immersed the yarns in the fabric under the dyenbath and "milked " it for a few minutes.  When it had absorbed enough of the dye, we squeezed the fabric under the surface and removed the fabric without dripping or splashing to avoid oxygenating the bath.  As before, the magical change of the fabric from yellowy green to blue is mesmerising.  We kept dipping until we got the colour we wanted.  I found that the date and the caustic soda mixes gave the darkest blues and the  pear mixture the lightest.


The hardest part of the process is taking your bundles and undoing/unpicking the threads without making a hole in the fabrics.  The sewing processes are the slowest to unpick.  However, the results make patience worthwhile.  Here are some of the tutors' examples that got us motivated:


I'll show my work in my next blog.

 
 I took my fabrics home to oxidize and then washed and rinsed them.  But before I went home, I took photos of more of the inspirational work by our tutors.  Here is a hand-knitted tea cosy:


and this is a nuno felted stole using natural dyes.


Cant wait for my next workshop - a dipping day.