
My second workshop at the Garden Craft Cottage was just as much fun as the first one, with the added bonus of us being a bit faster and more confident.
This time we refreshed the dye baths that we had made up last week. We used two methods for heating up the liquid to between 40 and 45 degrees. We used an immersion heater for one vat

but simply added warm water from the kettle to the others and stirred, using a thermometer to check the temperature.
Then, we tested for alkalinity. You can use a meter and try for a pH of 10 to 11, but we tested to see if it felt soapy or slippery with our fingers. When it didn't feel right, we added a teaspoon of caustic soda at a time, stirring well after each addition and retesting. ( We rinsed our fingers in water after each test, and in water with vinegar after the final test).
After that, we stirred the mixture, then sprinkled 2 teaspoons of sodium hydrosulphite on the surface of the moving liquid to avoid lumps and to avoid oxygenating the bath. We covered the vat and left it for a while. Most of the vats were ready for use after this stage, as yellow showed around the edge of the liquid, and a piece of fabric dipped in showed that they were ready

but we had to stir, add more sodium hydrosulphite, cover, leave and wait with one of the vats.
Over the week, we had homework of shibori tying some fabric using techniques like awase-nui ( bamboo leaf), karamatsu ((Japanese larch), maki-nui (chevron stripes), yamamichi (mountain path) and Chinese button flower. After refreshing the vats, we soaked our stitched and knotted fabrics in water. We then learned how to do pole-wrapping
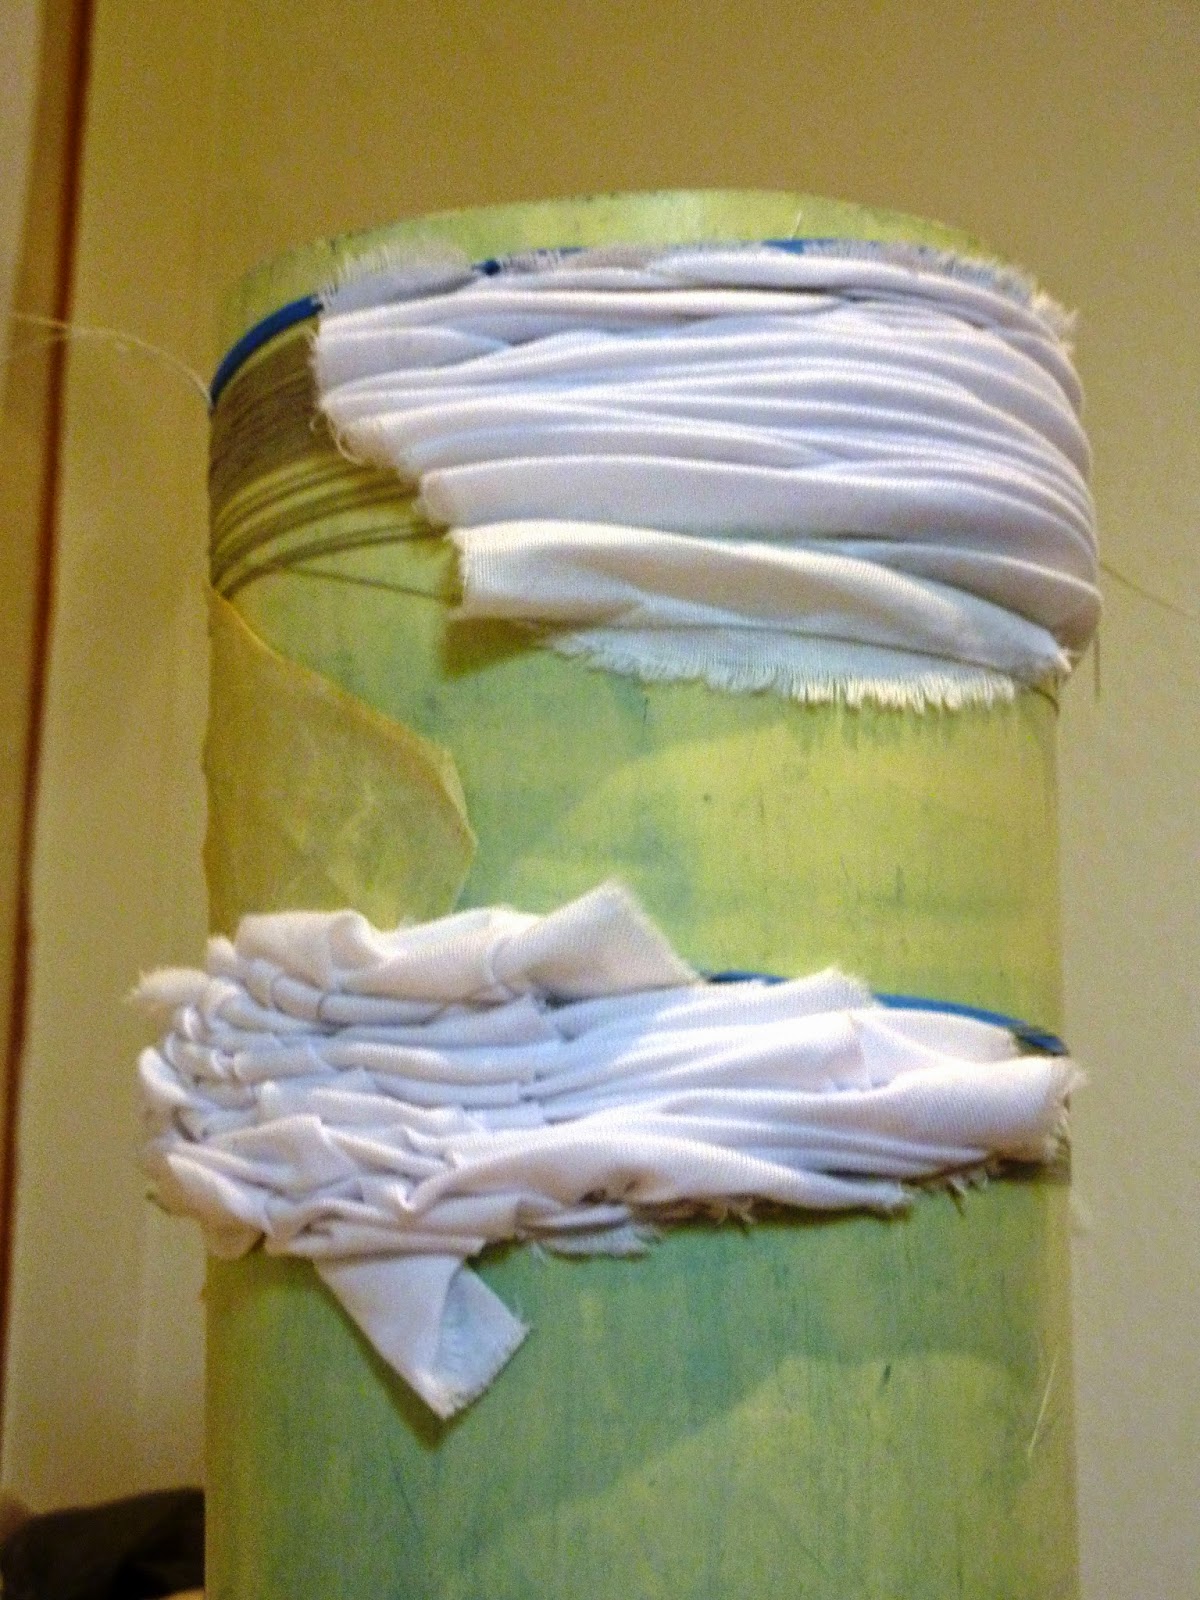
and clamping:


and soaked those fabrics too. I found that the new wood I had used for clamping leached brown into my fabric, but I quite like the effect.
When the vats were ready, we used rubber gloves to squeeze out the excess water and immersed the yarns in the fabric under the dyenbath and "milked " it for a few minutes. When it had absorbed enough of the dye, we squeezed the fabric under the surface and removed the fabric without dripping or splashing to avoid oxygenating the bath. As before, the magical change of the fabric from yellowy green to blue is mesmerising. We kept dipping until we got the colour we wanted. I found that the date and the caustic soda mixes gave the darkest blues and the pear mixture the lightest.


The hardest part of the process is taking your bundles and undoing/unpicking the threads without making a hole in the fabrics. The sewing processes are the slowest to unpick. However, the results make patience worthwhile. Here are some of the tutors' examples that got us motivated:


I'll show my work in my next blog.
I took my fabrics home to oxidize and then washed and rinsed them. But before I went home, I took photos of more of the inspirational work by our tutors. Here is a hand-knitted tea cosy:

and this is a nuno felted stole using natural dyes.

Cant wait for my next workshop - a dipping day.
No comments:
Post a Comment