


We kept checking each others' work and got so excited and prolific, we had to change from just drying the pieces on individual screens to using the drying rack.


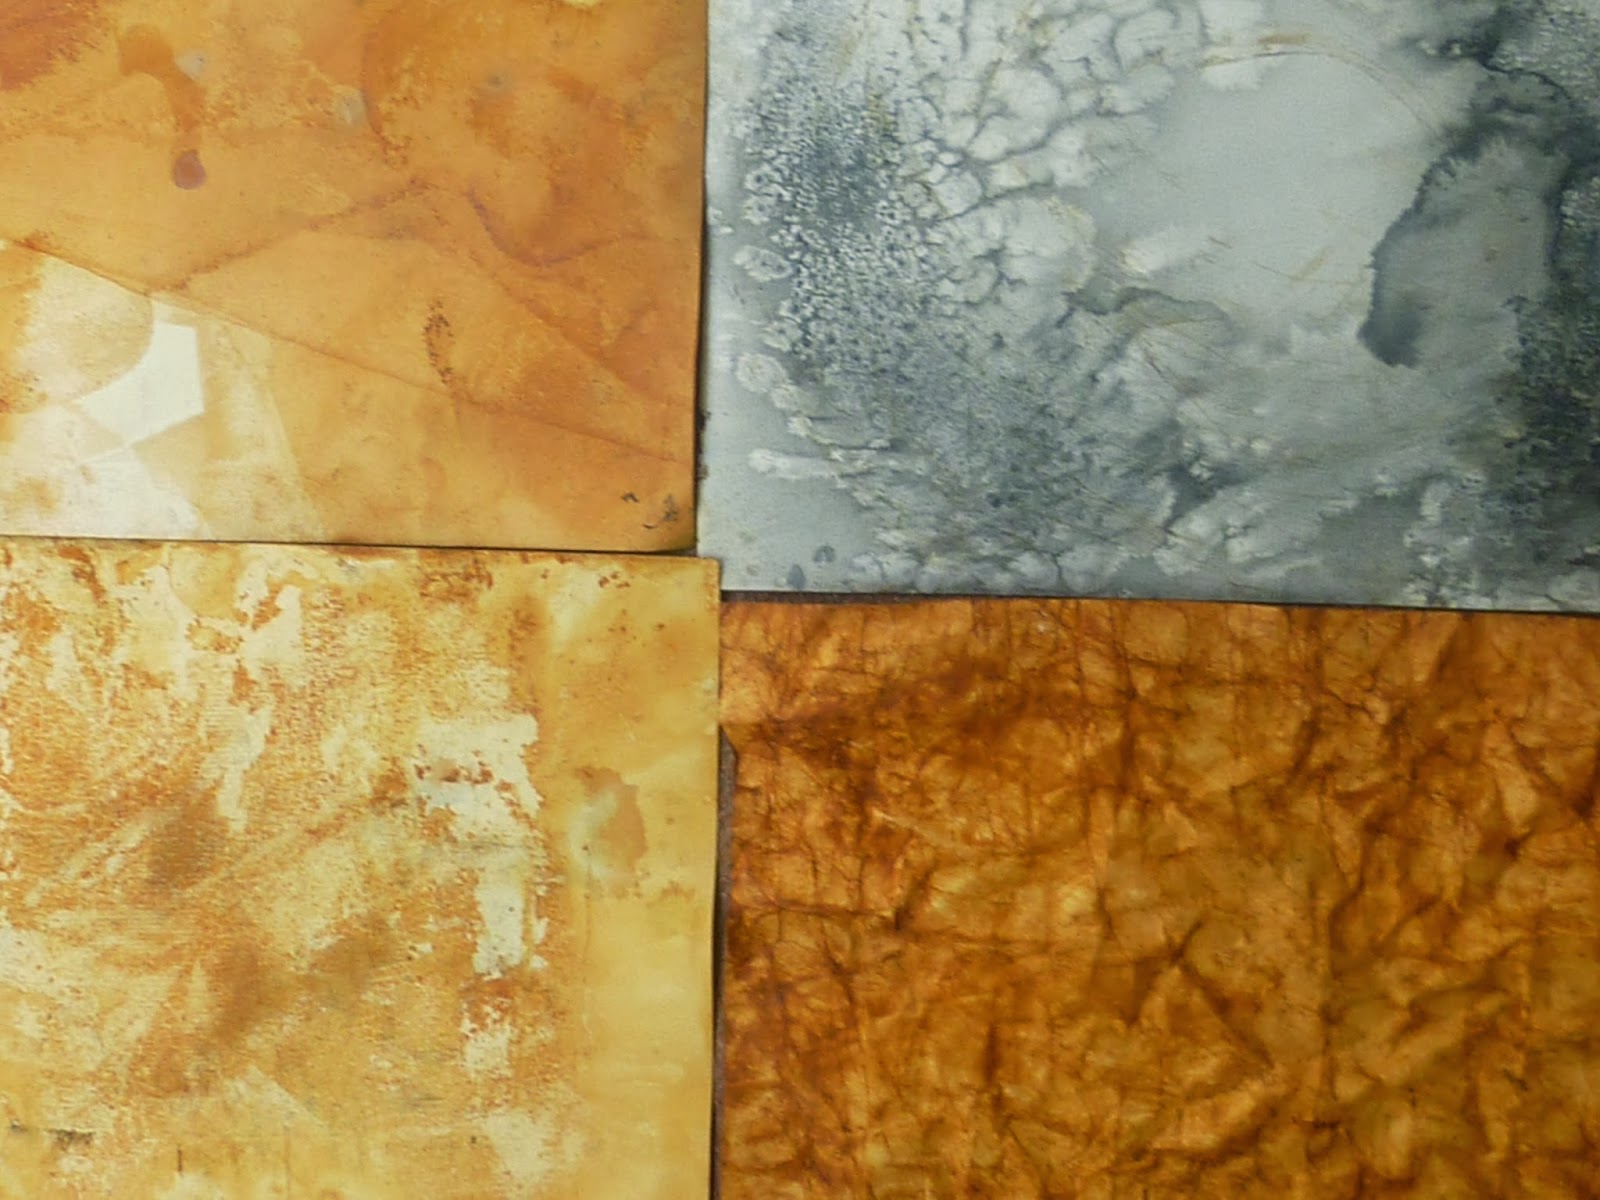
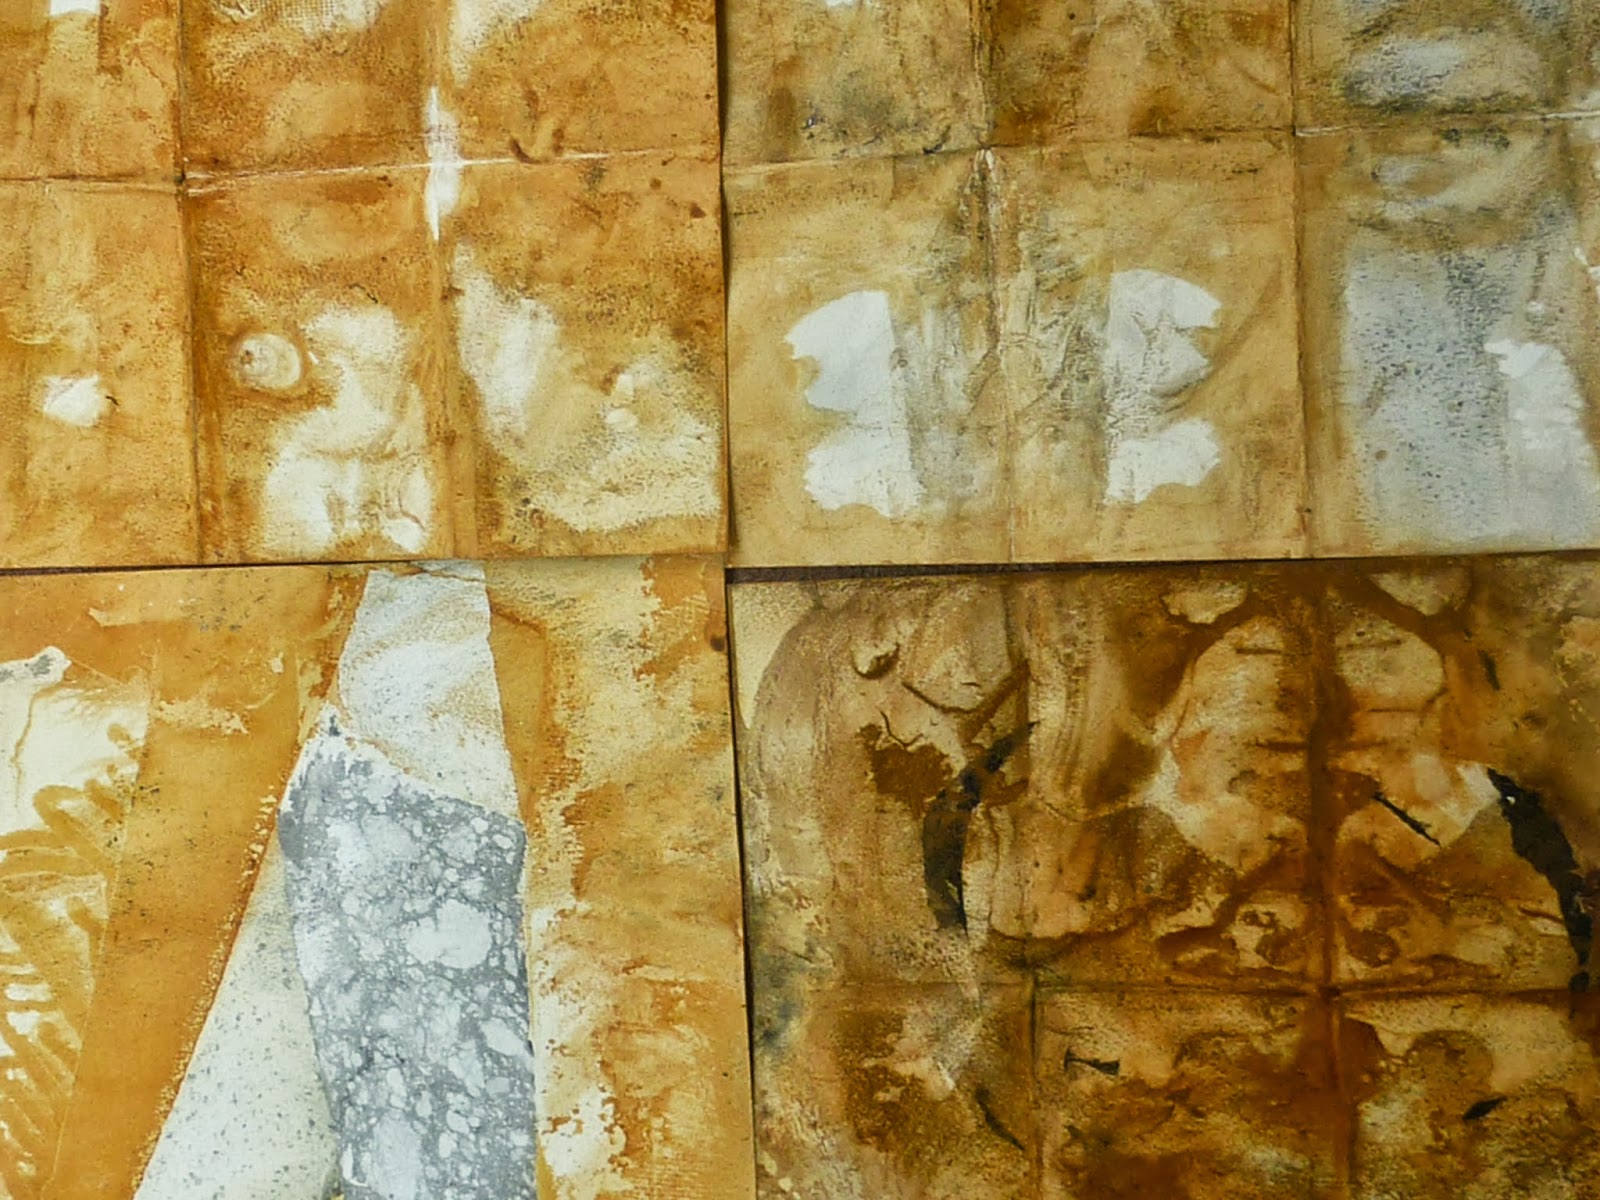
Some of the pieces looked like landscapes, some like mixed media and some like watercolours. We discovered that the more textured and better quality the paper, the better the effect.
I got confident enough to try scrunching up the water colour paper, and using the mulberry paper and rice paper and discovered that not only did this create a texture, but that the latter two became much more fragile, while adopting the properties of fabric. Wonderful!


(This is the same piece of rice paper as it is drying)


(These are the scrunched up water colour papers while wet)

I also tried out my white cotton fabric, sometimes using shibori or folds. Wow!


One of my hosts introduced me to creating a rust effect on objects made of plastic, wood, etc by
1. painting the object with black paint to create a base, if wanted.
2. spraying it with adhesive
3. covering it with iron powder
4. spraying it with Haynes Patina


I also learned, compliments of "The Sculptor's Bible: by John Plowman and my host , of different patinas which can be effected using things like cupric nitrate ( which gives a green patina).
As well as learning a lot about rusting, I got lots of ideas for other projects from my hosts:

(Repurposing books)

( Repurposing chicken bones)

(Decorating a workshop door)
Another artist folded some of her dyed papers to begin making a book.

She also worked the rust onto a canvas.

I was introduced to inspiring books, "500 Handmade Books: Inspiring Inspirations of a Timeless Form" by Lark Books, and Fairie-ality style: A Sourcebook of Inspiration from Nature" by David Elwand. Great sources of ideas.
I returned home exhausted, but on a high. My friends were going to continue on, using a dremel on some of their papers. I can't wait to see the results, and to try this out myself - as well as using the paper to make bowls, books and pictures.
The next day, I got to work on creating a shaman doll by using an artists mannequin and tattooing its hands and face with pens, collecting rusted bottle caps outside the local pub, rusting some wool fleece with vinegar and steel wool, making a shield from bits of an old belt and using some of my papers, collection of feathers, threads. This is the result:


What a wonderful set of inspiring images! I now want to dye cotton with rust!
ReplyDeleteDo it! It was great fun!
Delete